
Quickly Start a Garden Bed Without Digging
Wow! Just a month ago, I was out covering plants to help them survive the 19-degree overnight temperatures. Now I’m prepping my drip irrigation so they don’t languish in the 80-degree weather. I’ve been steadily cleaning out the beds here at the house and down in the flower field since mid January - I have a lot of flower beds!! I am top-dressing the beds with compost and mulch. I use compost from Soil 3 and soil conditioner from Evergreen, which is available at Lowe’s and Home Depot. Compost is for feeding the soil, and mulch is to prevent weeds and keep the soil moist. Doing this sooner rather than later will help keep summer weeds to a minimum. (At the time I am publishing this we are back to freezing temperatures! March 2026 has been crazy.)
Of course, while I'm prepping my established beds, I’m also dreaming up new projects. My newest endeavor is a lavender border. I marked the outline for this bed in the fall, but I just haven’t had time to prepare it. For this border, I am not going to add compost. The lavender doesn’t really need rich soil, just well-drained soil. So, I’m only using the soil conditioner to top dress my landscape paper. These are the steps I followed to prepare my new bed.
Step 1 - Cut back any existing weeds or grass with a lawn mower or weed-eater. Use the lowest setting on the lawn mower. You want to really cut them back. I do not use any kind of herbicide, but you can at this point. Grasses like centipede and bermuda are very persistent. I will probably have to use a second layer of landscape paper eventually because the grass that was growing where I am starting this bed is bermuda grass. You just don’t get rid of that easily! The paper I am using is specifically for landscaping. I get it from Johnny’s Seed. You could also use newspaper or cardboard. I don’t recommend landscape fabric because you would have to remove it to amend the soil in any way.*
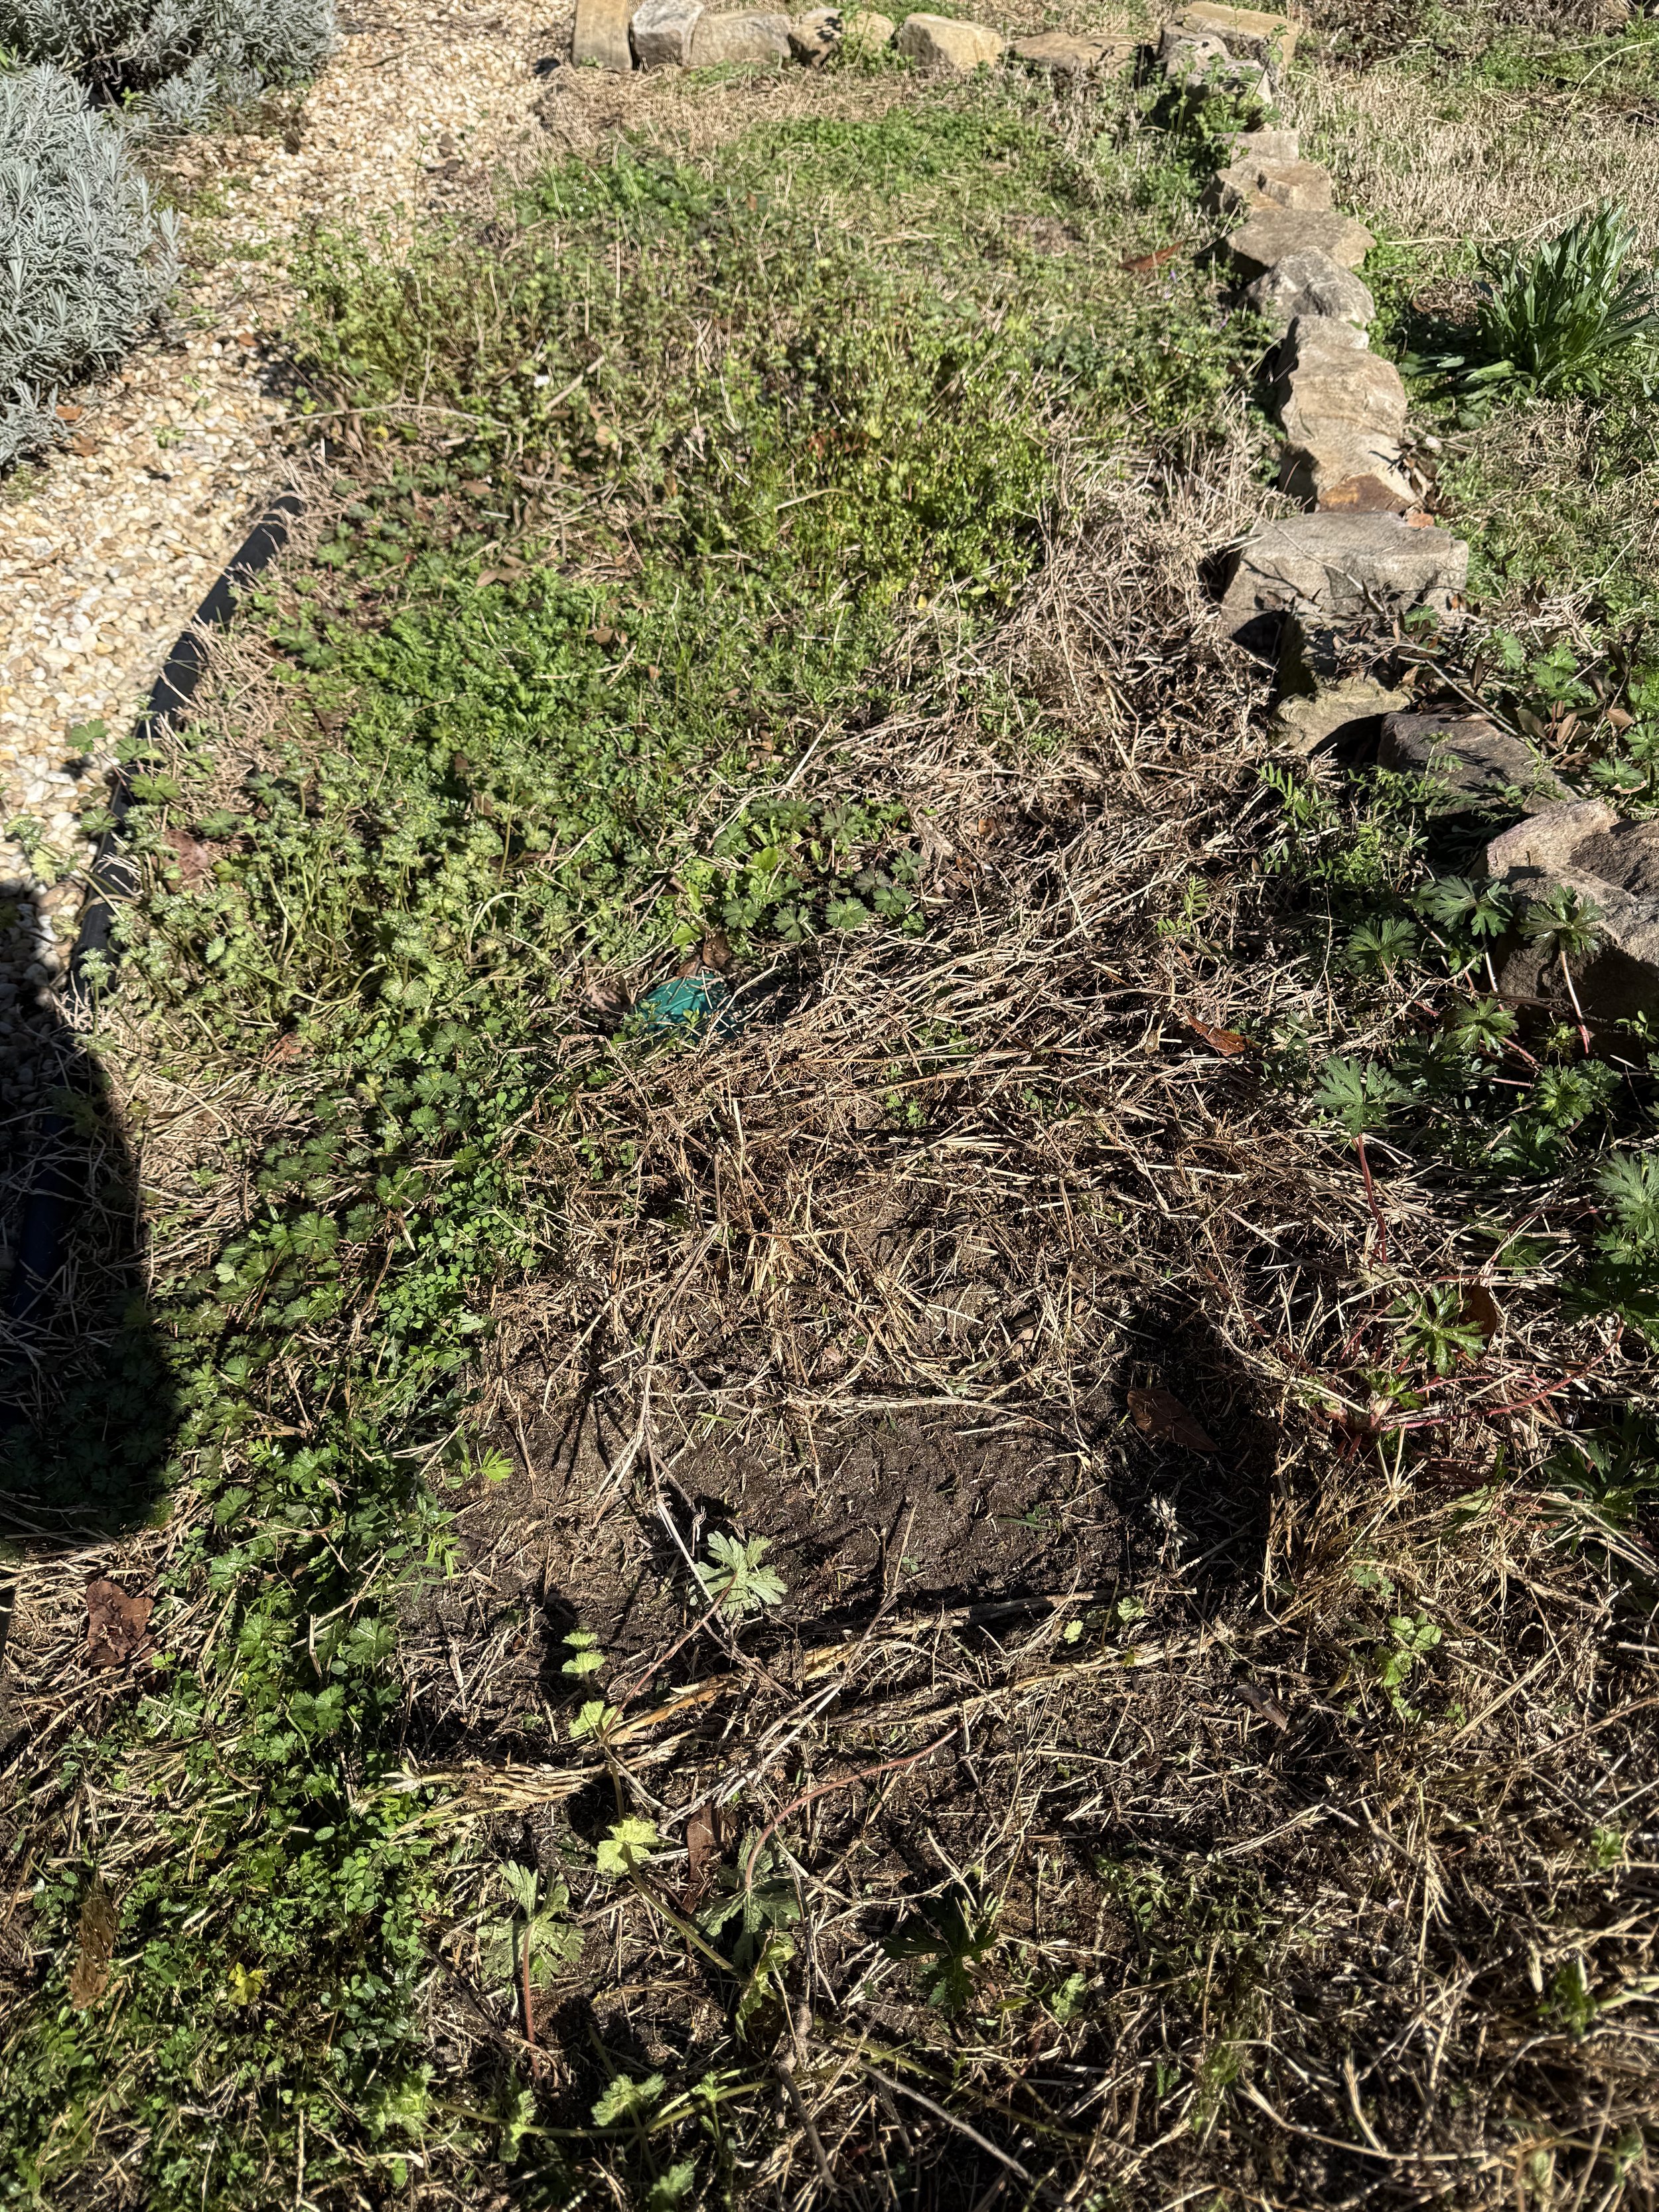
This is the bed site before I cut back the grass and weeds.
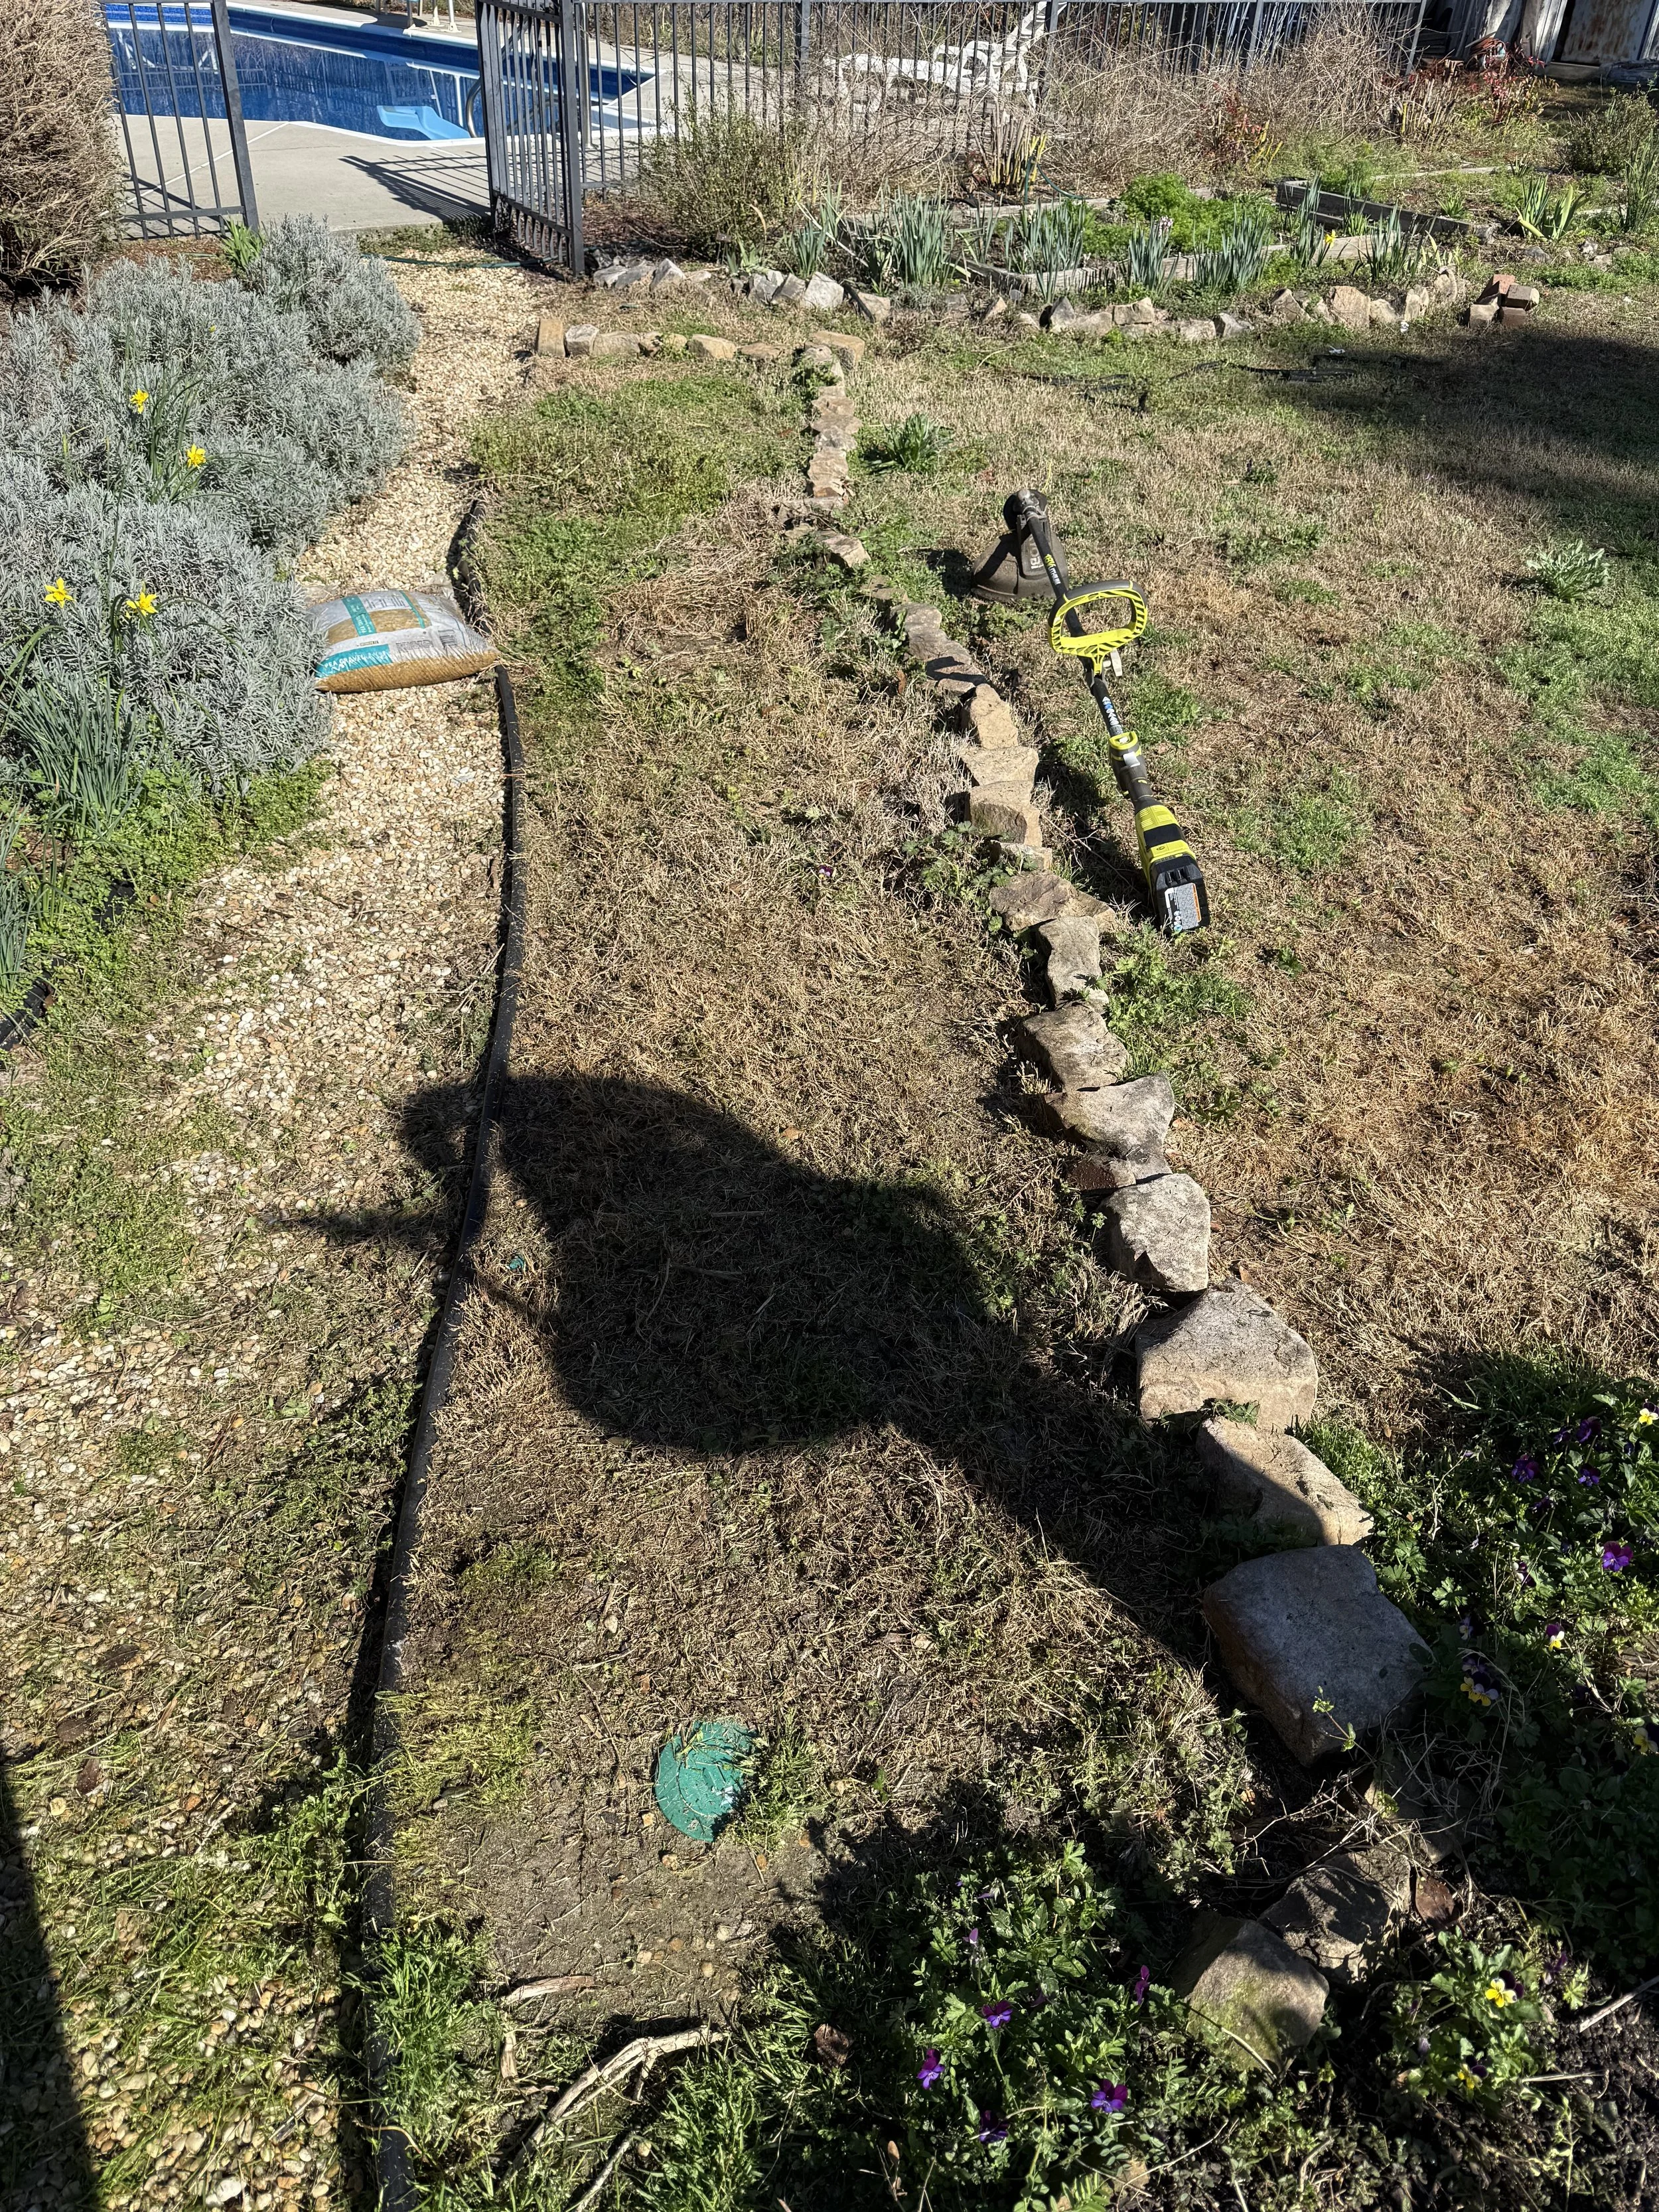
This is the bed after I used the weed eater to cut back the grass and weeds.
Step 2 - Lay down whatever you are going to use to block out light - landscape paper, newspaper, or cardboard. Wet the paper to help start the decomposition process.
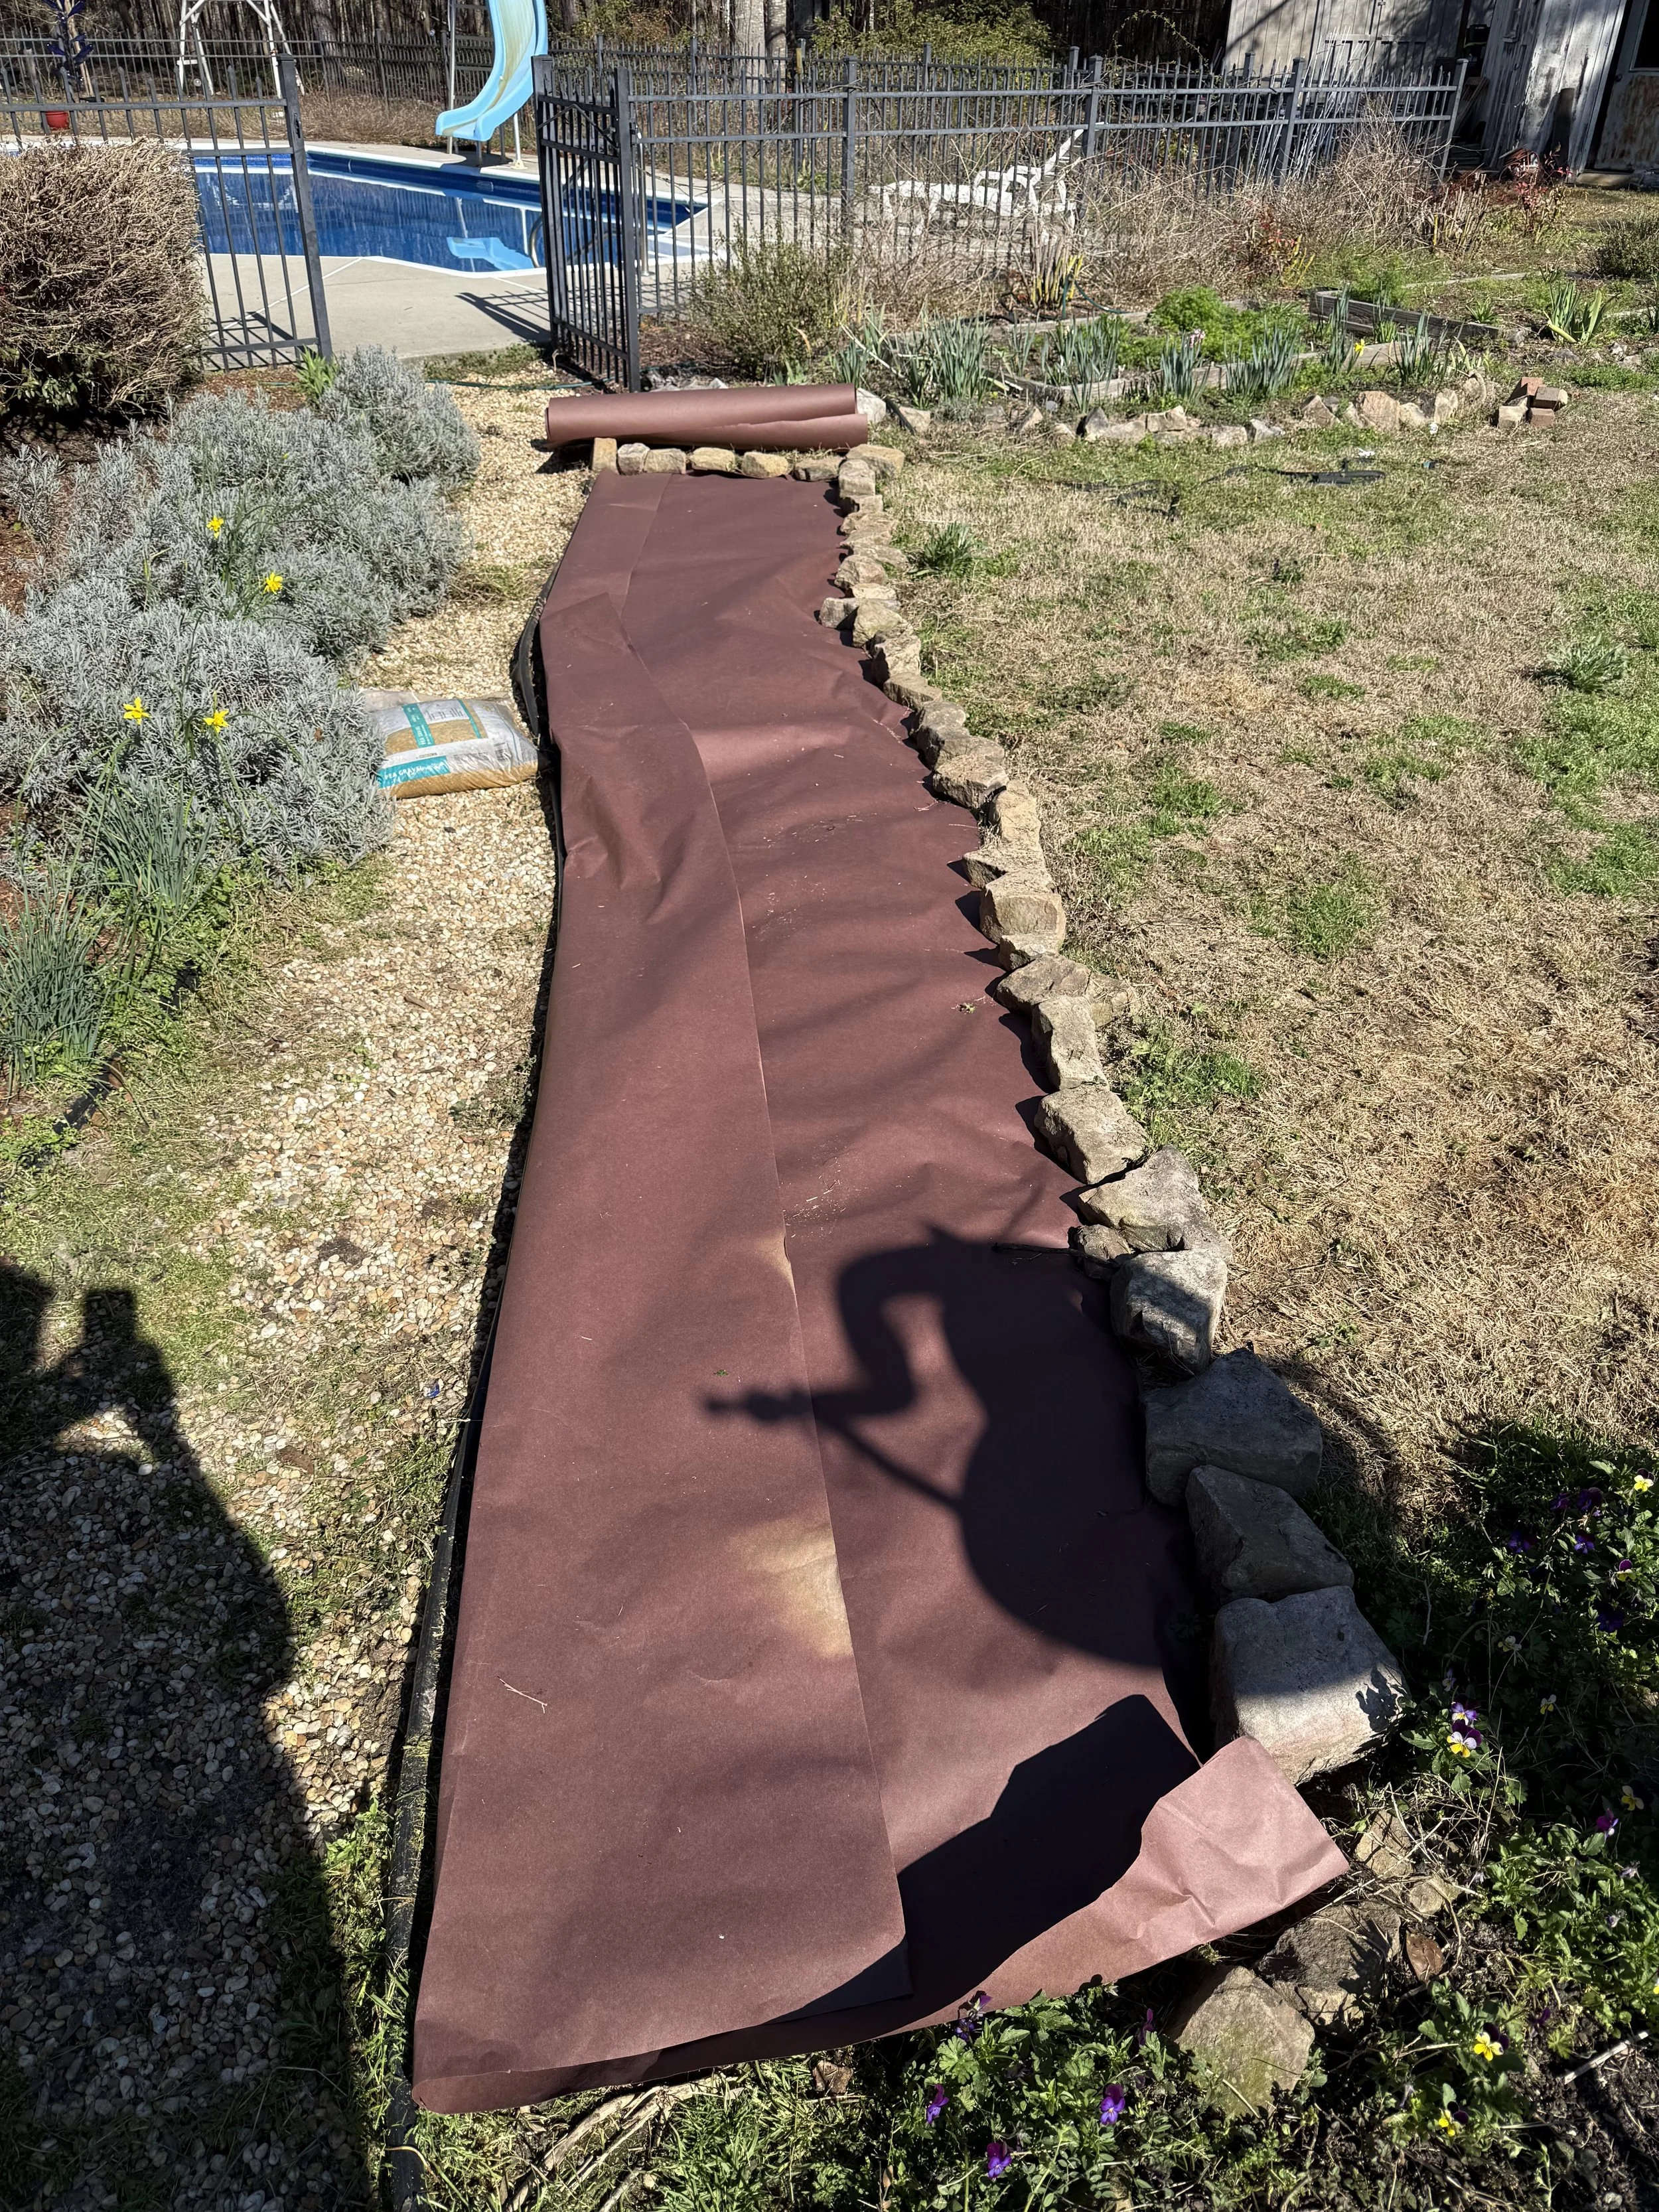
This is the bed after I laid dow the landscape paper.
Step 3 - Cover the paper with compost and mulch. I am using Evergreen Soil Conditioner, which I get at Lowes or Home Depot.
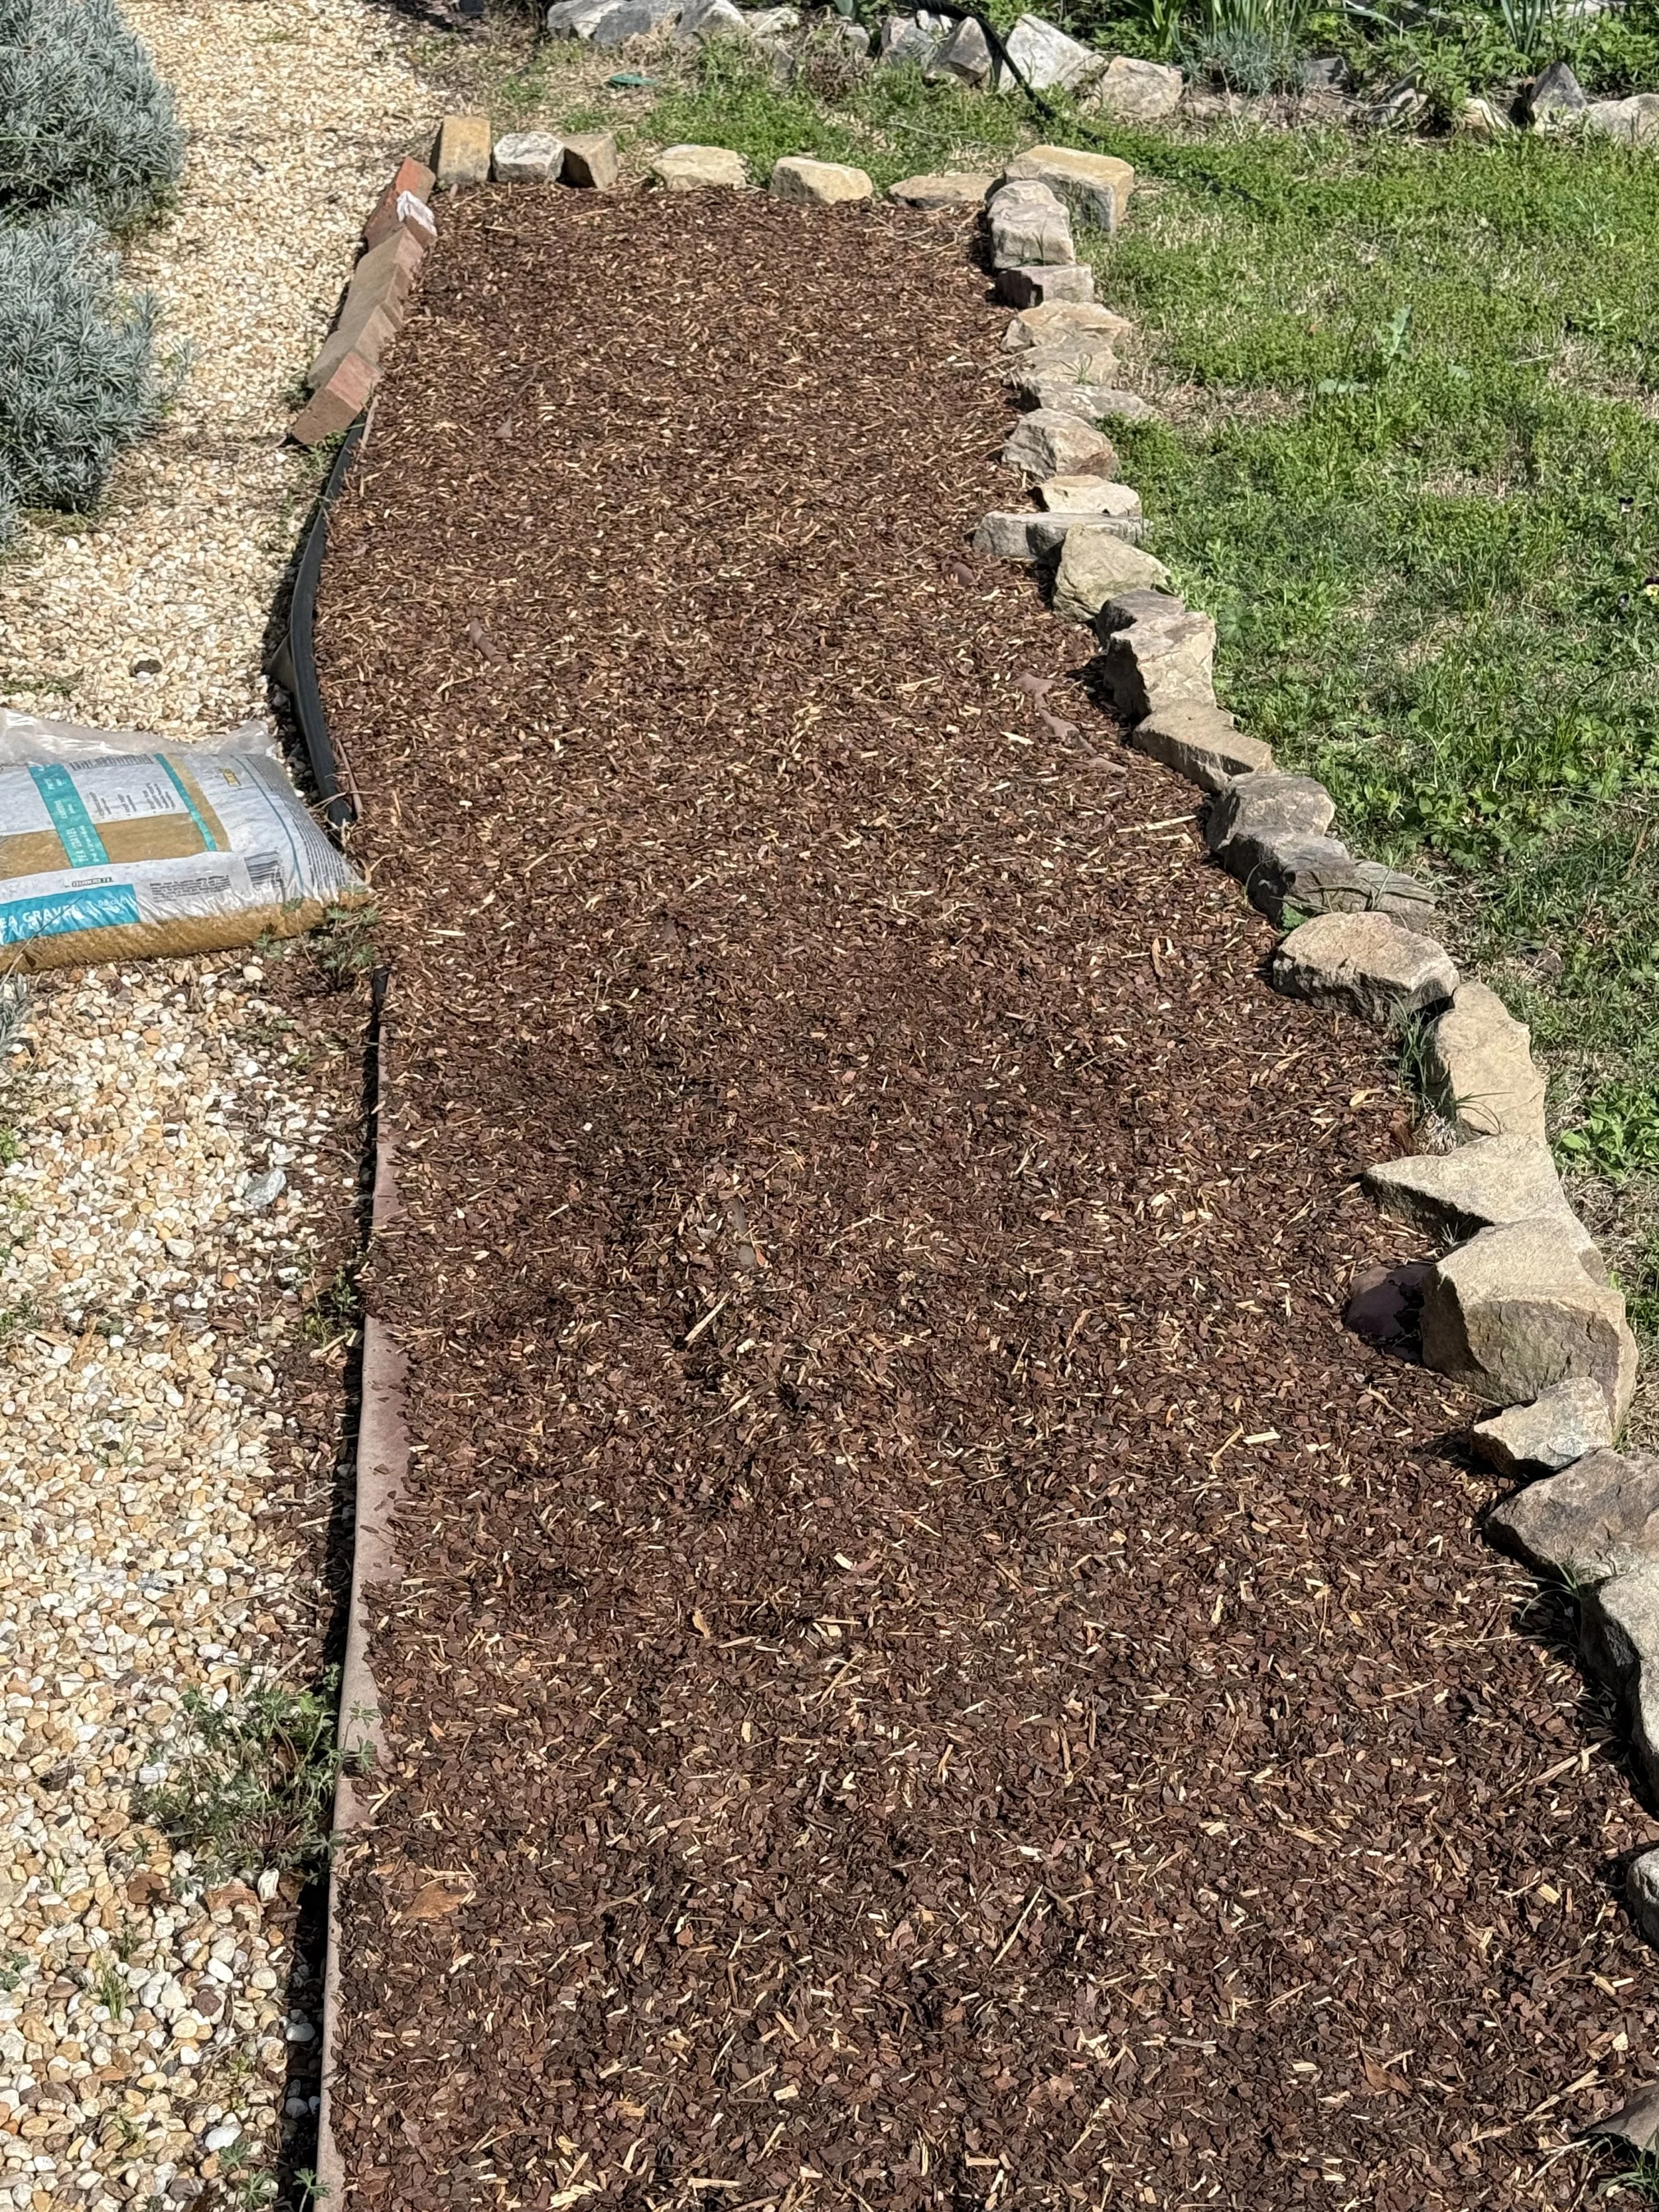
Here is the bed ready for planting out when my lavendar plants arrive!
Step 4 - Put in your plants. You may have to give a good punch to get through the paper, but you can soften it with water ahead of time to make it easier for your shovel or trowel to cut through the paper. If you use cardboard, you may have to cut through it with a knife to start your hole. You will not be able to start anything from seed in the first season because the young roots will not be able to penetrate the paper. However, by the Fall, the paper or cardboard should have decomposed enough for you to sow seeds in the bed.
Note - if you wait until the grass is actively growing, you will have to wait several weeks between steps 3 and 4. You will want the grass under the paper to be completely dead before you start to plant anything in the bed. I have even waited up to a year before I planted in a newly established bed.